一、准备环境:
系统版本:
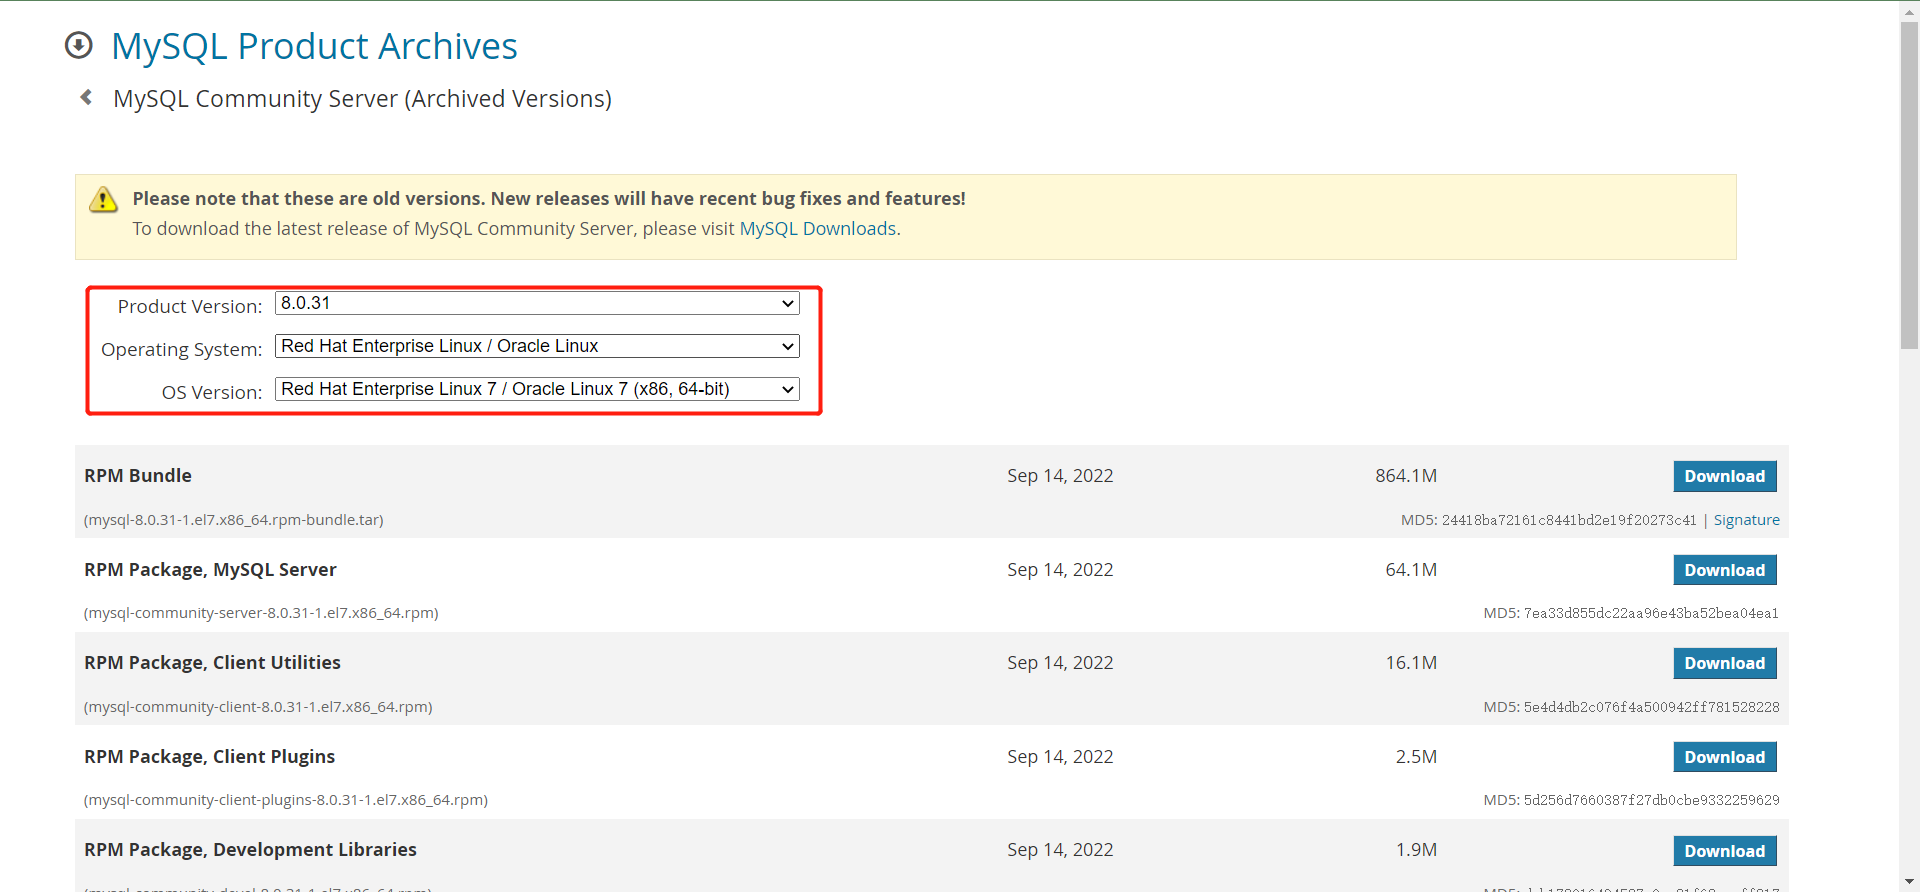
CentOS Linux release 7.6.1810数据库包名和数据库版本:
    mysql-community-client-8.0.31-1.el7.x86_64.rpm
    mysql-community-common-8.0.31-1.el7.x86_64.rpm
    mysql-community-libs-8.0.31-1.el7.x86_64.rpm
    mysql-community-server-8.0.31-1.el7.x86_64.rpm
官方下载地址:
https://downloads.mysql.com/archives/community/
关闭 firewalld&selinux
    sed -i 's/^SELINUX=enforcing/SELINUX=disabled/g' /etc/selinux/config
    #需重启服务器服务器生效
    systemctl stop firewalld && systemctl disable firewalld
卸载已有mysql&mriadb
    rpm -qa | grep mriadb
    rpm -qa | grep mysql
    rpm -e mriadb****** --nodeps
    rpm -e mysql******* --nodeps
删除系统附带的MySQL文件
find / -name *mysql* | xargs rm -rf二、安装MySQL
1、安装MySQL RPM包
rpm -ivh mysql-community* --nodeps2、启动mysql服务
systemctl start mysqld3、查看临时密码
    [root@localhost ~]# cat /var/log/mysqld.log | grep password
    2023-02-15T08:52:45.705996Z 6 [Note] [MY-010454] [Server] A temporary password is generated for root@localhost: 54E(KmazNZ0u    #临时密码为54E(KmazNZ0u
4、登录MySQL并修改临时密码
  [root@localhost ~]# mysql -uroot -p
  Enter password:    #使用#3得到的临时密码登录
  修改密码:
  mysql> alter user 'root'@'localhost' identified by 'xxxxxxx';
5、创建远程访问用户和密码、并赋予权限
   创建用户并指定密码;
       create user 'root'@'%' identified with mysql_native_password by 'xxxxxx';
   授权;
       grant all privileges on *.* to 'root'@'%' with grant option;
   刷新权限;
       flush privileges;

仅登录用户可评论,点击 登录